Screen Recorder
Record computer screen without time limit


AI VideoKit
Record, edit, convert, and repair any media file

Audio Converter
Convert audio files to any format

AI Audio Joiner
Merge multiple audio files into one

Media Player
Play various multimedia files smoothly

Screenshot
Capture, edit and annotate images

AI Image Converter
Convert HEIC, LivePhoto and more
Want to remove watermark from a video or photo without leaving an obvious trace? Or would you like to add unique watermarks to your videos and photos for copyright protection? Now AI VideoKit can be a qualified assistant. It magically gets rid of watermarks in batch and customizes special watermarks with ease. To get started, you should download and install it on your computer:
Double-click the program of AI VideoKit to launch it on your desktop and navigate to "Image" section to open "Image Watermark". Switch to "Remove watermark" at the top. Then, simply hit "Add file(s)" button to import as many images as you want or straightly drag and drop them to the program.
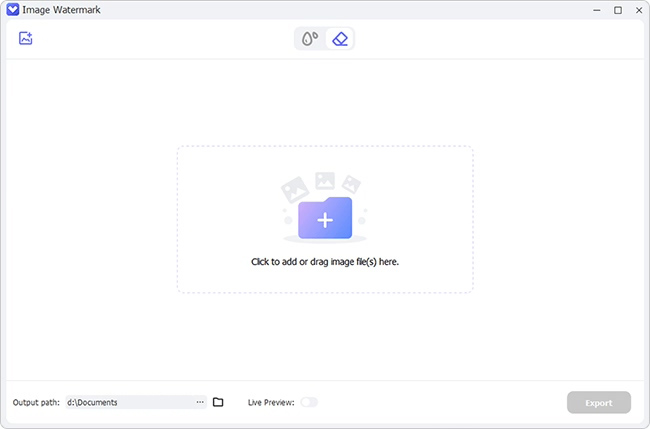
There are three tools offered to help choose the location of the watermark in each image, including rectangle selection, freehand selection and polygon selection. It's available to utilize "Pen" and specify an area where the watermark exists. No matter which method you adopt, you can easily click on "Live Preview" button to preview the removal result.
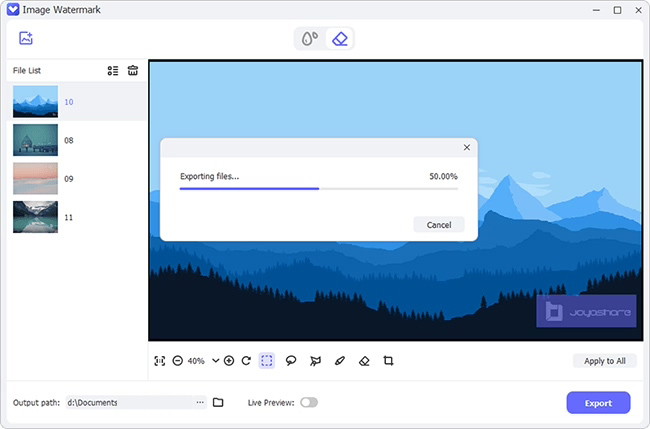
Check whether your images are edited with no watermarks in the left list. If you need, you can also crop the files, adjust size and change the location. Once everything gets ready, simply save images with "Export" option on the bottom right.
Simply run "Video Watermark" in AI VideoKit and choose "Remove watermark" at the top of main interface. Drag and drop selected files to your program or click "Add file(s)" button to add them.
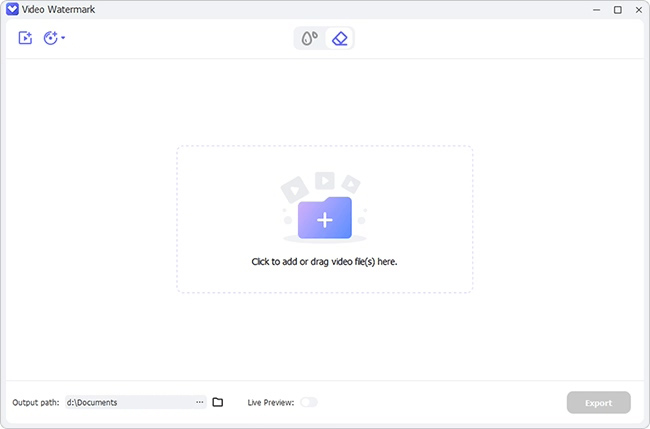
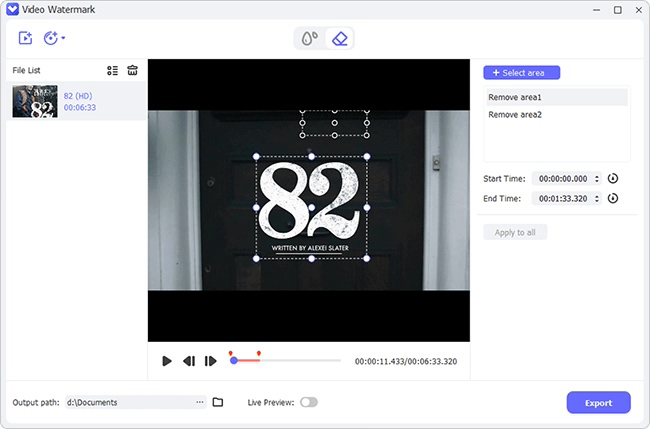
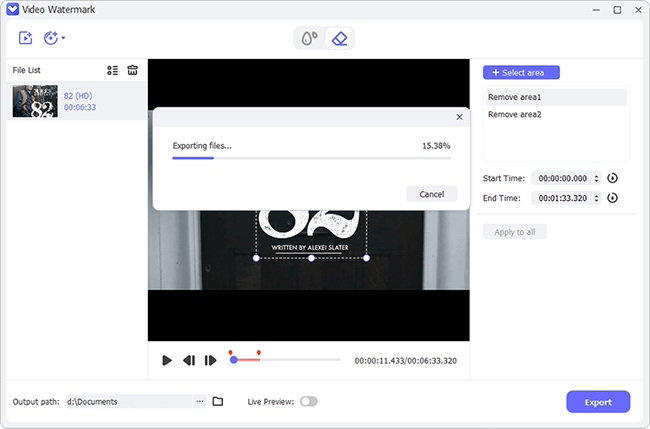
Highlight one video in the left list and click "+ Select area" to freely choose a region where the watermark is located. You're allowed to set both Start Time and End Time to accurately get all watermarks eliminated. It's feasible to repeat the same operation, generate different video clips, and confirm watermark location for each segment to quickly remove. Notably, you can enable "Live Preview" and play all videos to preview them handily.
AI VideoKit categorizes all videos as completed and uncompleted. You can therefore clearly know which files have been processed. After you finish erasing watermarks, you can adjust output location according to your actual need and click "Export" button to output videos without watermarks.
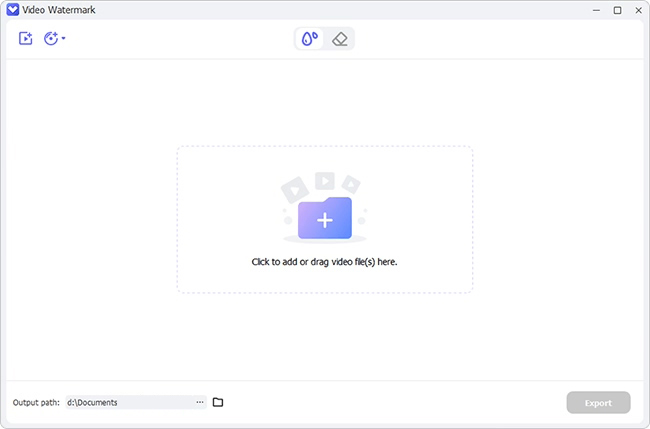
Get "Video Watermark" launched in AI VideoKit. By default, you'll get started from "Add watermark" main interface. Now, click on "Add file(s)" button in the upper left corner to add multiple videos at a time. It's also possible to import files via drag-n-drop.
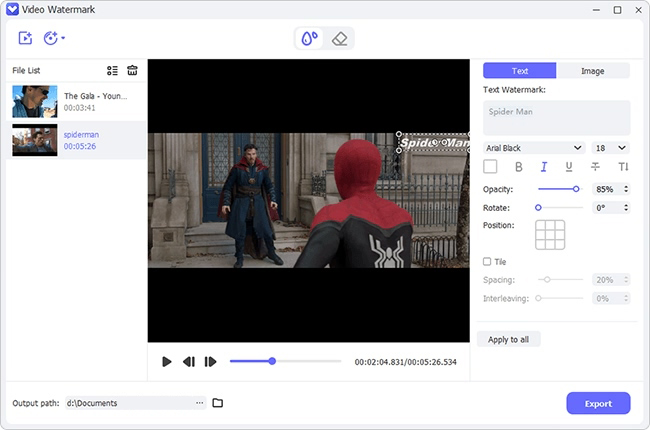
Designate one video in the list first. Next, you're able to click Image → Add image watermark to import a local ready watermark. Simply adjust its size, opacity and more to an optimal status. Or you can manually enter the text watermark under Text, set the font in the way you like. To improve efficiency, just make the full use of "Apply to all" function.
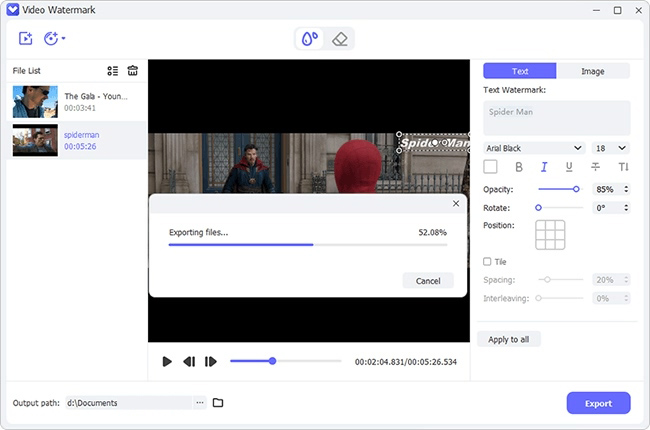
Preview to check if all your completed videos are watermarked. Afterward, you can adjust the file location and click on the "Export" option to save watermarked videos.
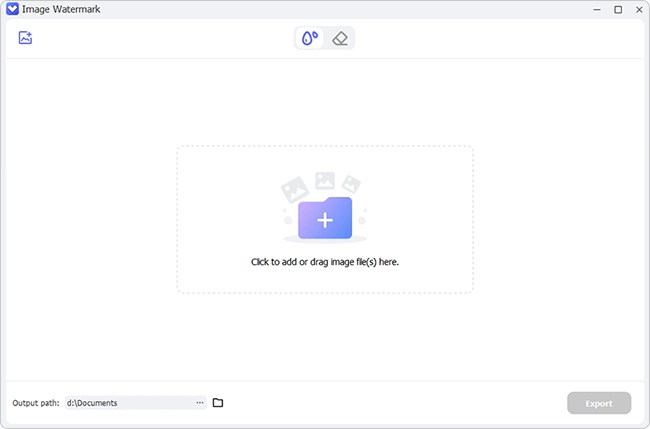
Right-click to open the program of AI VideoKit on your desktop and select "Image Watermark". In the main interface of "Add watermark", you can find and click on the "Add file(s)" button to import photos you want. Or quickly drag and drop them to the left list area.
Click to choose one image from the list. Then you can hit "Image" → "Add image watermark" to browse and choose one image watermark from a local folder. It's available to move it to a suitable position and adjust the transparency or size. If you want, you can also customize a Text Watermark by setting its font and opacity. Note to enable "Apply to all" option if you'd like to batch watermark multiple photos.
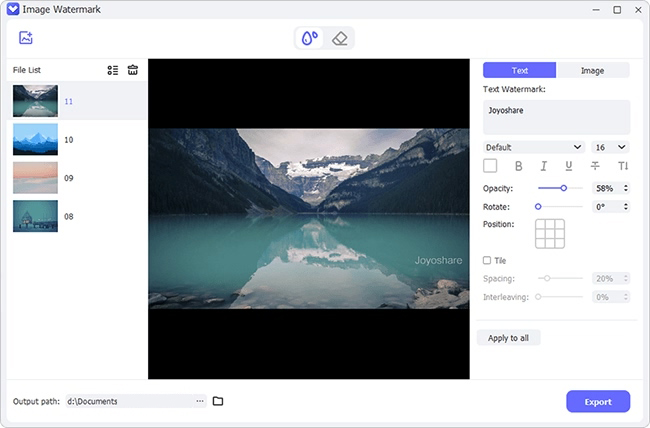
Confirm whether all your photos are processed and preview them as per actual needs. Hereafter, change the file location and hit the "Export" button to output these watermarked images.

Copyright © 2026 Anikeep Studio. All Rights Reserved.